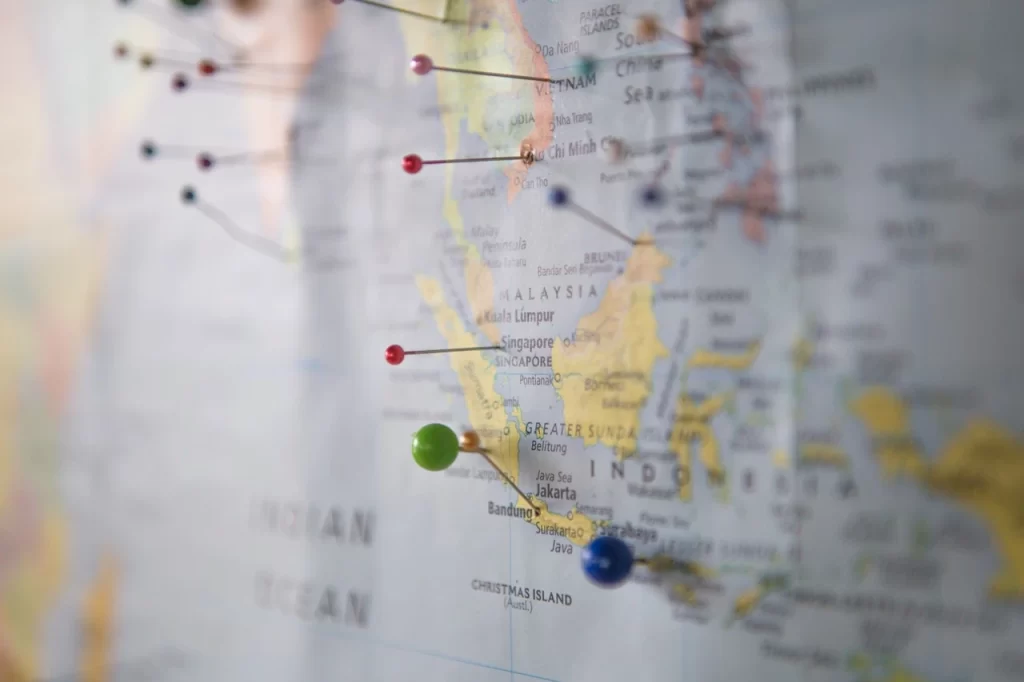
Google Maps has revolutionized the way we navigate and explore our surroundings. One of its most useful features is the ability to drop pins, which allows users to mark specific locations for future reference.
Whether you’re planning a trip, meeting friends, or simply want to remember a favorite spot, understanding how to pin and remove locations on Google Maps can enhance your experience.
In this comprehensive guide, we’ll explore the process step by step, address common questions, and provide useful tips to optimize your use of dropped pins in Google Maps.
What Are Dropped Pins?
Dropped pins are markers that users can place on the map to highlight specific locations. They are useful for:
- Navigating to a Location: Easily find your way to a destination.
- Sharing Locations: Send pin locations to friends or family.
- Saving Favorite Spots: Keep track of places you want to revisit.
How to Drop a Pin on Google Maps
Dropping a pin is a straightforward process. Follow the steps below based on the device you’re using.
On Desktop
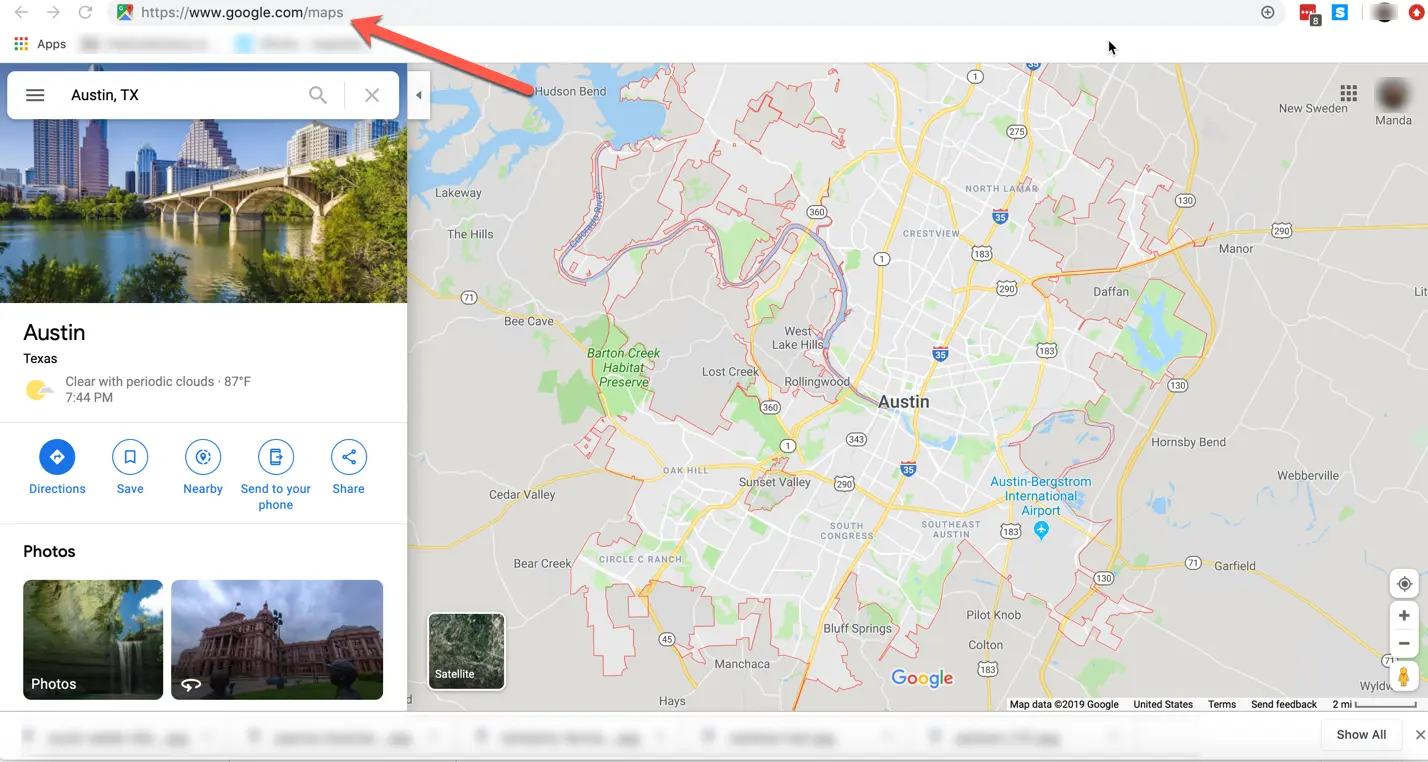
- Open Google Maps: Go to Google Maps on your web browser.
- Locate the Area: Navigate to the area where you want to drop a pin.
- Drop the Pin:
- Right-click on the desired location on the map.
- Select “Drop a pin.”
- View Pin Details: A box will appear at the bottom of the screen showing the coordinates and the address of the dropped pin.
On Mobile
- Open the Google Maps App: Ensure you have the app installed on your smartphone.
- Find Your Location: Search for the area you want to drop a pin in.
- Drop the Pin:
- Press and hold on the desired location on the map.
- A pin will drop, and the details will show up at the bottom of the screen.
How to Save a Pin Location
Once you’ve dropped a pin, you might want to save it for later use. Here’s how:
- Open the Pin Info: Click on the pin to open its details.
- Select “Save”:
- On desktop: Click “Save” in the pin details box.
- On mobile: Tap “Save” at the bottom of the screen.
- Choose a List: You can save the pin to different lists such as Favorites, Want to Go, or create a new list.
| Action | Desktop | Mobile |
|---|---|---|
| Open Pin Info | Click on the pin | Tap on the pin |
| Save Location | Click “Save” | Tap “Save” |
| Choose List | Select from options | Select from options |
How to Remove a Dropped Pin
Removing a dropped pin is just as easy as dropping one. Here’s how to do it:
- Open the Pin Info: Click or tap on the pin you want to remove.
- Select “Remove”:
- On desktop: Click on the “X” in the pin details box.
- On mobile: Tap the three dots icon and select “Remove”.
- Confirm Removal: If prompted, confirm that you want to remove the pin.
Managing Your Saved Locations
Once you have saved several locations, managing them becomes essential. Google Maps allows you to view, edit, or delete saved locations easily.
Viewing Saved Locations
- Open Google Maps.
- Access Your Places:
- On desktop: Click on the hamburger menu (three horizontal lines) in the top left corner and select “Your places.”
- On mobile: Tap on “Saved” at the bottom of the screen.
- Browse Your Lists: You can view all your saved places categorized into different lists.
Editing Saved Locations
- Open Your Saved Places.
- Select the Location: Click on the pin or list item you want to edit.
- Edit Details: Click “Edit” or tap on the pencil icon to change the name or move it to a different list.
Deleting Saved Locations
- Access Your Saved Places.
- Select the Location: Click on the pin or list item you want to delete.
- Delete the Pin: Click “Delete” or tap on the trash can icon to remove the location.
| Action | Desktop | Mobile |
|---|---|---|
| View Saved Locations | Hamburger menu > Your places | Tap on “Saved” |
| Edit a Saved Location | Click on the pin > Edit | Tap on the pin > Pencil |
| Delete a Saved Location | Click on the pin > Delete | Tap on the pin > Trash can |
Common FAQs
1. Can I drop multiple pins in Google Maps?
Yes, you can drop multiple pins in Google Maps. Simply repeat the steps to drop a pin at different locations.
2. How long do saved pins stay in Google Maps?
Saved pins remain in your Google Maps account until you choose to delete them. They sync across devices as long as you’re logged into the same Google account.
3. Can I share a pinned location with others?
Absolutely! After dropping a pin, click on it to open details, then click “Share” to send the location via email, messaging apps, or social media.
4. What if I can’t find my saved locations?
Make sure you’re logged into the correct Google account. If you still can’t find your saved locations, check the “Your places” section in the menu.
5. Are dropped pins and saved places the same?
No, dropped pins are temporary markers placed on the map, while saved places are permanent entries in your Google Maps account that you can revisit later.
6. Can I customize the color or icon of my pins?
Currently, Google Maps does not allow customization of pin colors or icons. However, you can create lists to categorize your saved locations.
Conclusion
Understanding how to drop, save, and remove pins in Google Maps can significantly enhance your navigation experience. Whether you’re exploring new places or organizing your favorite spots, these features allow for efficient planning and easy access to important locations. By following this guide, you can make the most of Google Maps and ensure you never lose track of where you want to go again.
Useful Links
Feel free to explore these features and share your tips or experiences in the comments below!

